Using Groups as Layers
Although Omber does not directly have a layer system, it offers similar functionality through its support of groups.
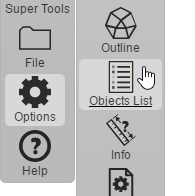
You can view your groups by opening the Objects List view from the Options menu.
 |
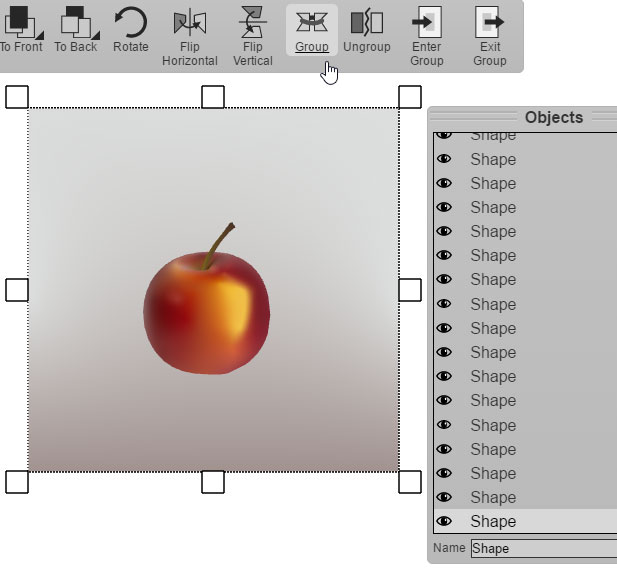
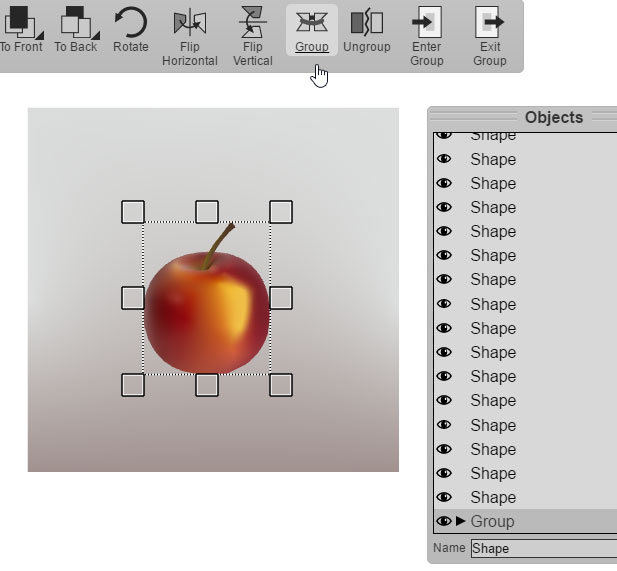
Instead of putting objects in different layers, you should put your objects into different groups. You do that by switching to the Select tool, selecting the objects you want to group together, and then choosing Group from the context panel.
 |
 |
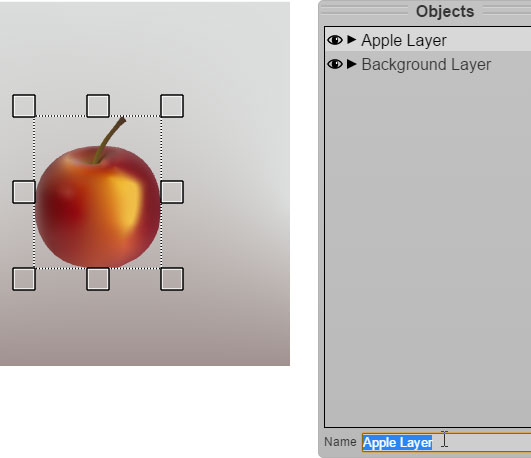
You can name your groups from the Objects List view.
 |
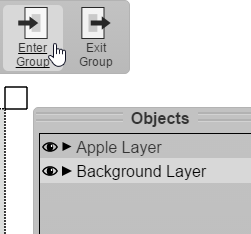
If you want to edit the shapes in a group or layer, you select the group and choose "Enter Group" from the context panel.
 |
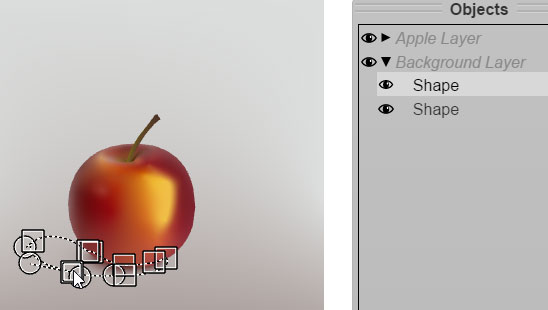
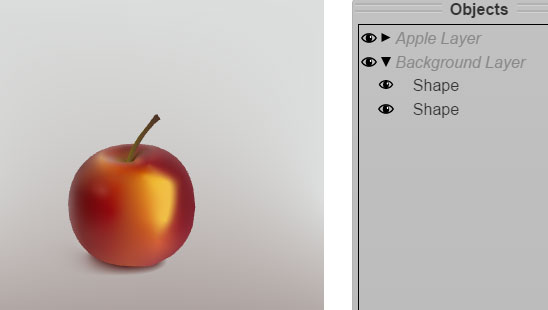
Then, you will still see all the shapes from all the groups, but you will be restricted to only working with the shapes from the currently entered group. You can quickly hide a group or layer by clicking on the eye icon beside the group in the Objects List view. Note: When working inside of a group, sometimes when you use undo, you will be booted out of the group and sent back to the main drawing. You will then have to reenter the group to go back to what you were working on.
 |
 |
Contents