Making a Basic Shape
 |
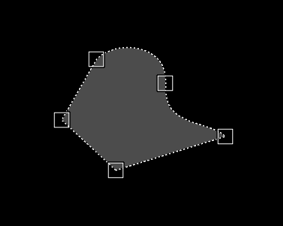
Omber is a vector based drawing tool. Instead of working with pixels, you work with shapes. In Omber, shapes are just a series of line segments connected together. These segments can be straight or curved.
 |
 |
To start making a shape, select the Shape tool on the tools panel at the left of the screen.
Then, select the "Straight" button in the context panel at the top of the screen to enter "straight" mode. In this mode, you will draw straight segments in order to make your shape.
If you are using a mouse
Click on the screen at the points that make up the boundary of the shape that you want. For example, if you are making a triangle, click on the screen at the three points that make up the three corners of the triangle.
To finish the shape, add a final point at the same location as the first point of the shape. Your mouse will "snap" to the first point when the mouse is near it. Clicking there will "close" the shape and fill it in with color.
If you are in touch mode
You now need to make the points that make up the boundary of the shape that you want.
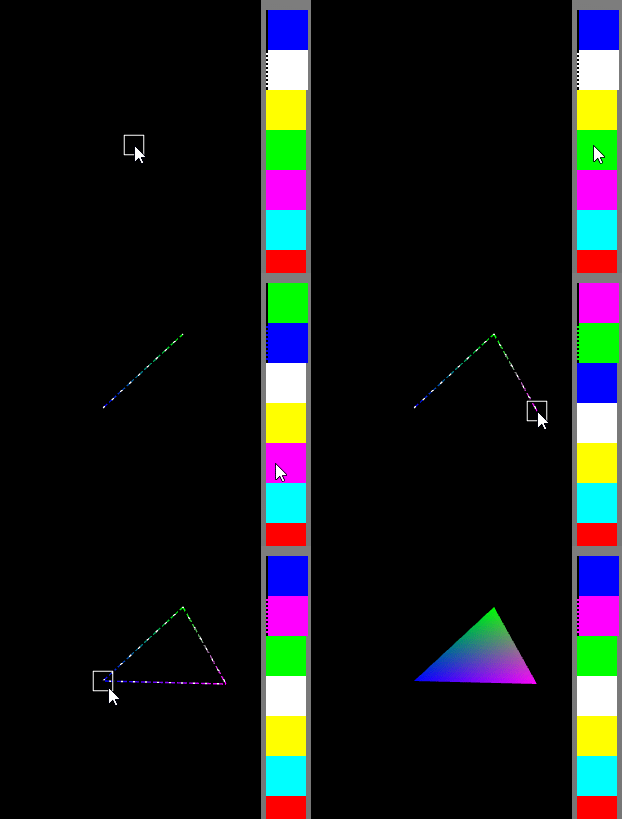
To make a point, you should touch your finger against the screen. A square will appear on the screen above your finger, this is where the point will be created. Omber always creates points above where your finger is pressed so that you can see where the point will go. You can move your finger around on the screen to precisely position the point. Lift your finger away from the screen to actually create the point.
 |
Make all the points for your shape. For example, if you are making a triangle, make three points for the three corners of the triangle.
To finish the shape, add a final point at the same location as the first point of the shape. When placing the final point, you will see that the square showing where the point will be created will "snap" to the first point when it is near it. Creating the final point will "close" the shape and fill it in with color.
Colors
Omber colors each point using the current color. To make a colored shape, simply change the current color before making your shape.
To make shapes with complex shading, you can choose a different color for each point in your shape. Simply change the current color (for example, by choosing a color from the color bar at the right of the screen) before creating each point. When the shape is closed, Omber will blend all the colors across the surface of the shape.
 |
Contents