Converting Images to Animated GIF Guide
Animation Companion can be used to easily convert a set of images into an animated GIF. This can be used for creating a simple slideshow from some photographs or for making an animated diagram.

Here are six timelapse photographs of a mushroom being chopped up. Full-sized photographs can be difficult to work with, so it is often useful to shrink the images to a smaller size beforehand.

Now let's create an animation from the images. First, start the Animation Companion program.
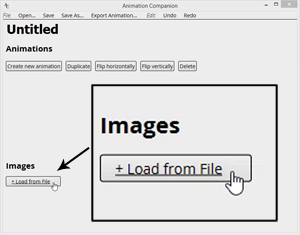
Click on the "Load from File" button in the Images section in the lower-half of the window.
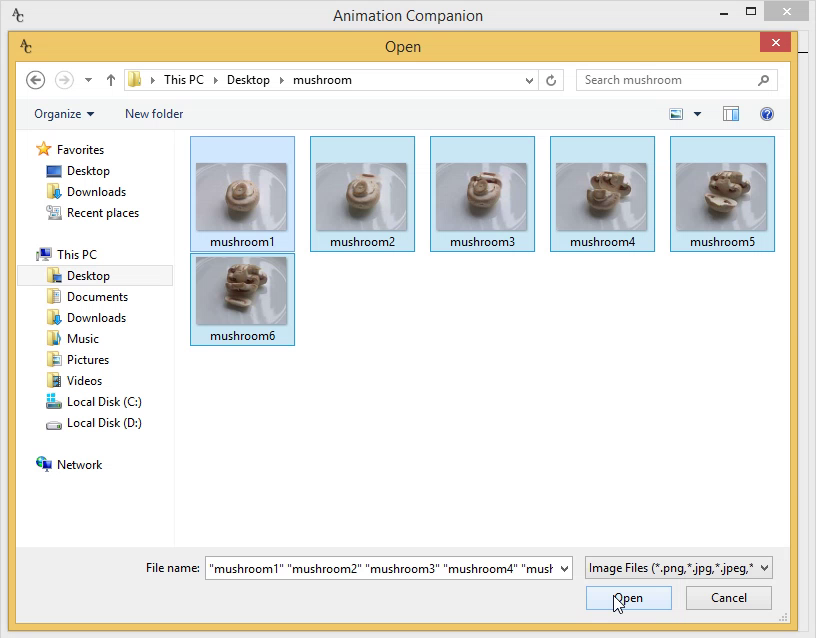
Choose the files to be turned into an animation.

You may have to wait momentarily while Animation Companion loads the images into the program. When loaded, the images will appear in the Images section.
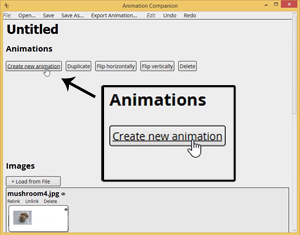
Click on the "Create new animation" button

This will bring up the Animation window where you assemble your animation.
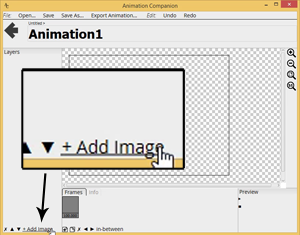
Click on the "Add Image" button in the lower-left to add an image to the first frame of your animation.
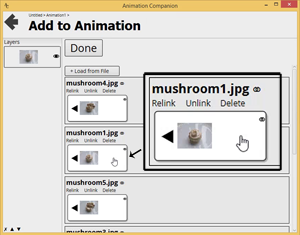
Choose the first mushroom picture for the first frame of animation. After you click on it, it will show up on the list of layers on the left.
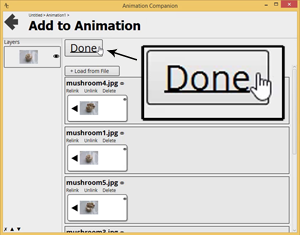
Click on the "Done" button now that you've finished adding all the images needed for the first frame.
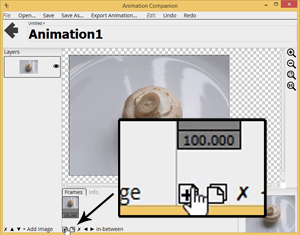
Now we can create the second frame of the animation. Click on the "New frame" button in the Frames pane at the bottom of the window.
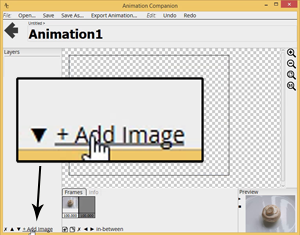
Click on "Add Image" to add an image to second frame.
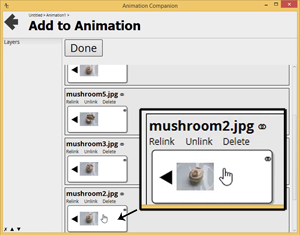
Choose the picture that should be used for the second frame.
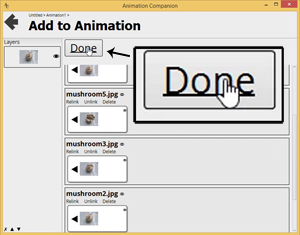
Then click on "Done." We've now finished setting up the second frame of animation.
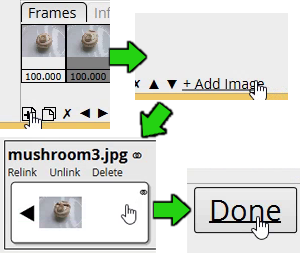
Repeat the same steps to create the third frame of animation. Click the "New frame" button, then "Add Image," then choose the picture, and then click on "Done."
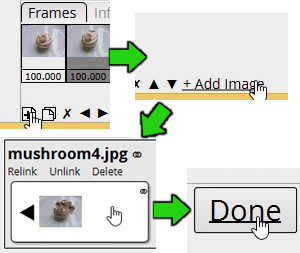
Do the same for the fourth frame of animation.
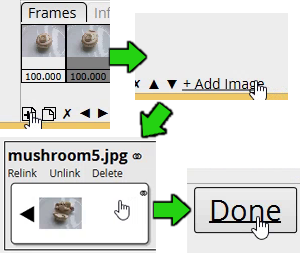
Do the same for the fifth and sixth frames of animation.
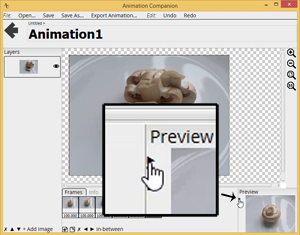
We've now finished assembling the animation. You can preview the animation by clicking on the "Play" triangle in the preview pane on the lower-right of the Animation window.

You may find the animation too fast or too slow. Below each frame of animation in the Frames pane, there is a time. This is how many milliseconds each frame of animation will be displayed. You can adjust these times to get the animation timing that you want.
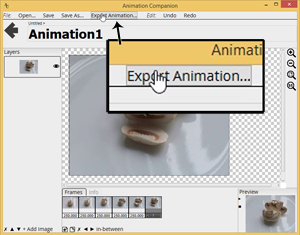
We're now ready to save the animation as a GIF file. Click on the "Export Animation..." button at the top of the window
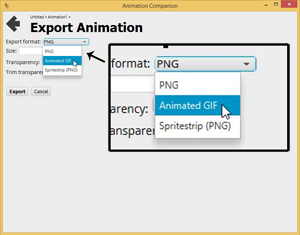
From the Export Animation window, change the export format to "Animated GIF." Set any other export animations that you want.

Click the "Export" button and choose the filename for your exported animations. Then wait while Animation Companion exports your animations.

You've now created an Animated GIF from your images!
Video